Image scaler: do you want an upscaler or a resizer?
A resizer interpolates pixels and an upscaler reconstructs them. Which one you need, with measured 2x and 4x results and the real browser limits.
"Image scaler" covers two tools that do opposite things to a file. A resizer resamples the pixels you already have, so 4000 px of width becomes 1080 px of width and the detail gets averaged down into fewer samples. An upscaler runs the image through a trained model that reconstructs edges and texture the original never stored. Both change the number in the dimensions box. Only one of them can add detail, and it only offers 2x or 4x.
Both of ours run inside the browser tab. The upscaler downloads its model to your machine once, then every tile after that is computed on your own GPU. Nothing gets posted anywhere, because there's no API route to post to and no server action in the codebase (that's the whole architecture, described on our privacy page). Every other scaler in this category uploads your file and then promises to delete it an hour or two later.
What's the difference between resizing and upscaling?
Resizing is interpolation. Our resizer hands the work to the browser, either through createImageBitmap with `resizeQuality: "high"` or through a canvas `drawImage` with imageSmoothingQuality set to high. Either way the output pixel is a weighted average of the input pixels around it. Averaging can't produce an edge that wasn't in the source data, so enlarging by interpolation gives you a bigger, softer copy of the same information.
Upscaling is reconstruction. Ours runs Real-ESRGAN realesr-general-x4v3, a generative model trained to hallucinate plausible detail at 4x, described in the 2021 paper. It processes the image in 256 px tiles with a 16 px overlap on each side, so a tile always sees its neighbors' context before the core region gets written out. The model guesses. Those guesses are usually right on faces, fabric and text, and they can be badly wrong on fine repeating patterns.
Which one do I actually want?
If the target size is smaller than the source, you want the resizer and there's nothing to discuss. If the target is bigger, the question is whether you can afford the constraints below. Here's what the two tools actually do in our build, taken from the code rather than the marketing copy.
| Resizer | Upscaler | |
|---|---|---|
| Direction | Any target size, up or down | 2x or 4x only |
| Method | Browser canvas interpolation | Real-ESRGAN realesr-general-x4v3 |
| Output format | Source format kept (GIF and AVIF come out PNG) | Always PNG |
| Quality control | PNG lossless, everything else re-encoded at quality 90 | None, PNG has no quality dial |
| Batch limit | 10 files, 50 MB total | 1 file |
| Input ceiling | Only the batch cap | About 32 MP with WebGPU, about 1.1 MP without |
| Presets | 15 social sizes plus 25/50/75 percent | None, just the 2x and 4x buttons |
One row deserves a warning. The resizer defaults to "do not enlarge" being checked, which clamps any typed target to the original dimensions. A named social preset overrides that clamp on purpose, because a clamped 1080x1920 story frame matches no platform spec at all.
How much does the file grow when I upscale?
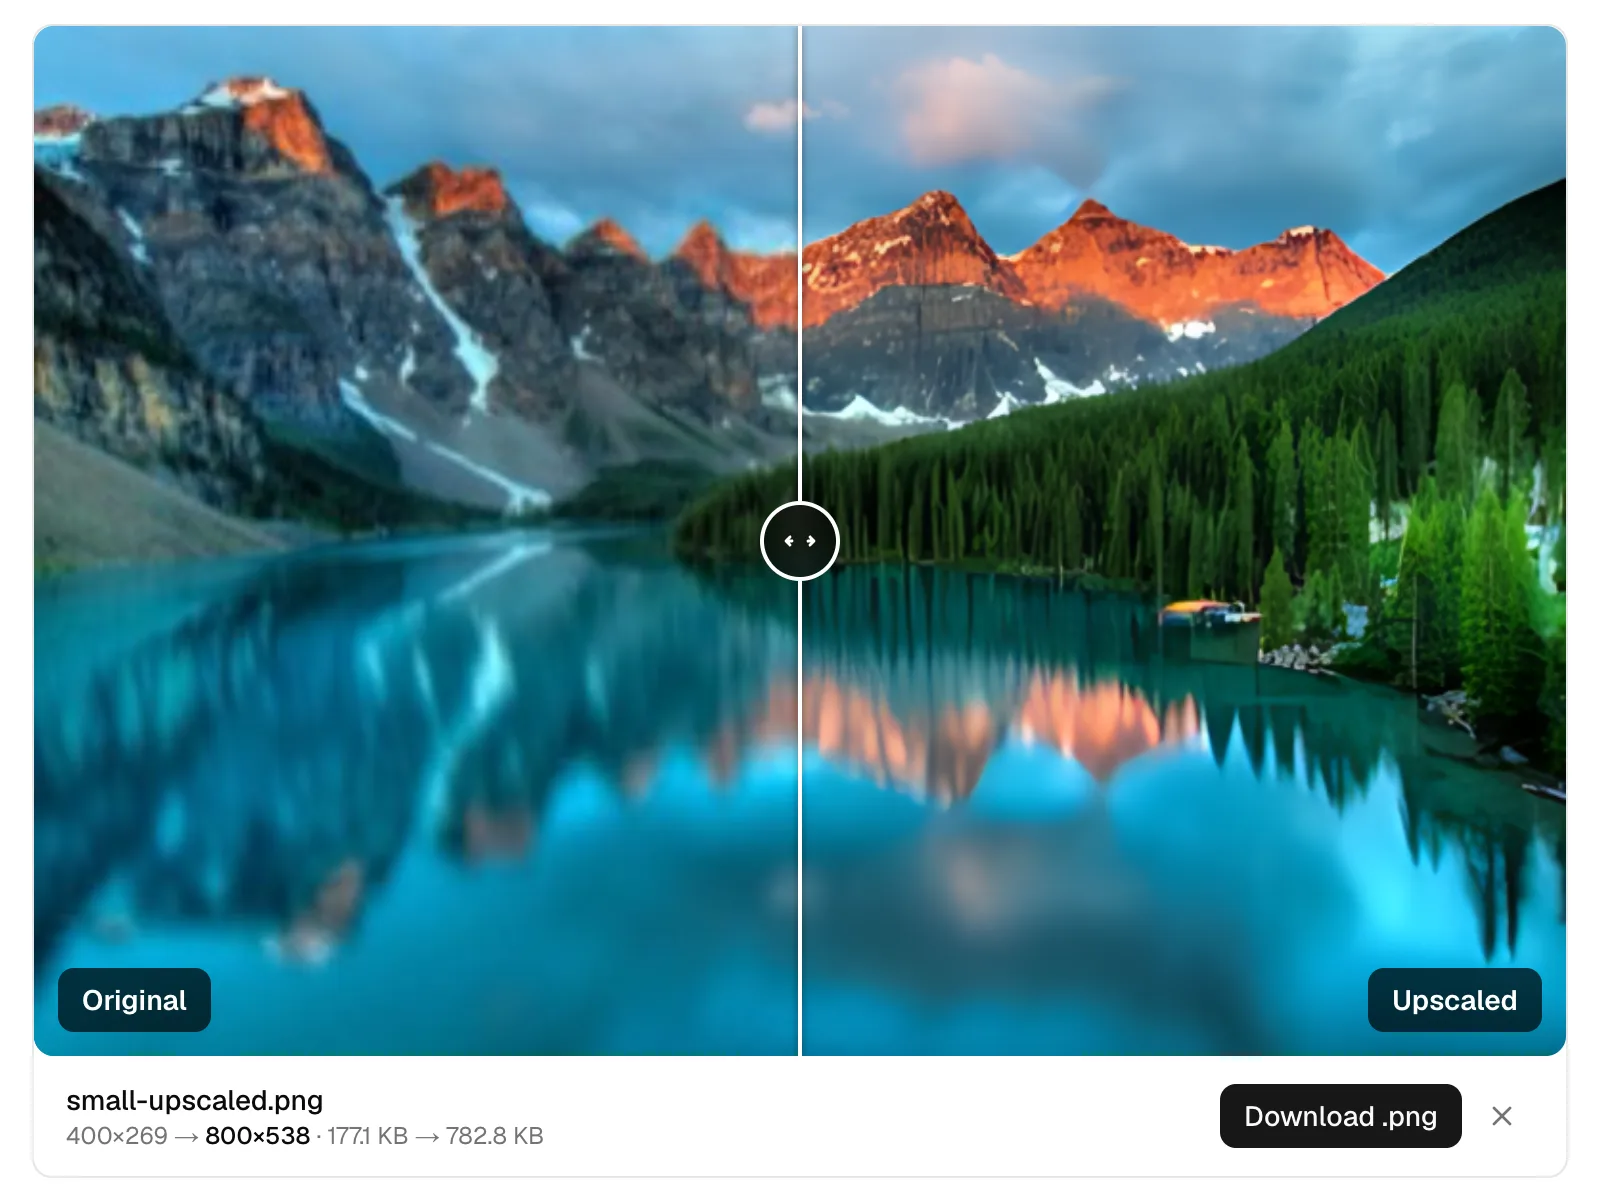
A lot, and PNG is the reason. We ran small.png, 400x269 and 177.1 KB, through both settings. At 2x it came out 800x538 and 782.8 KB. At 4x it came out 1600x1076 and 2.7 MB. That's roughly 15x the input bytes for 16x the pixels, which is what lossless output looks like when the model has just filled every flat area with new microtexture. The upscaler writes PNG in every case, so there's no quality slider to trade against.
Send the result to the compressor before you use it anywhere. Our PNG "no compression" mode is oxipng level 3, genuinely lossless, and it took a 942.4 KB alpha.png down to 383.9 KB. The palette mode (imagequant) took the same file to 98.3 KB, which is fine for flat graphics and wrong for a photographic upscale.
Why does the 2x option look softer than 4x?
Because 2x isn't a separate model. realesr-general-x4v3 has exactly one output scale, and it's 4x. When you pick 2x we run the identical inference and then downscale each tile back to half size with the canvas interpolator at high smoothing quality. So the GPU work is the same for both buttons, and 2x is reconstruction followed by resampling in that order. The downscale happens per tile, which means the full 4x image never exists in memory during a 2x job. If you want the model's raw output, pick 4x and shrink it yourself in the resizer afterwards. The source width each multiplier needs to reach 3840 px is worked out separately.
Why won't the upscaler take my 24 MP photo?
It depends entirely on whether your browser starts WebGPU. With WebGPU running, a 4x job accepts about 32 megapixels of input. Without it, onnxruntime-web falls back to single threaded WASM and the input ceiling drops to about 1.1 megapixels, smaller than almost any phone photo. That isn't an arbitrary limit. CPU inference on this model runs minutes per megapixel, and a 24 MP job would hang the tab for the rest of the afternoon. One file at a time, always.
What else does the resizer change besides the pixel count?
More than people expect. A PNG source stays PNG and stays lossless. Everything else gets re-encoded, at quality 90 by default, so resizing a JPEG is also a recompression whether you wanted one or not. A GIF source comes out as PNG, and if that GIF was animated you lose every frame but the first. AVIF sources also come out as PNG. The three fit modes matter when the source and target aspect ratios disagree: cover center-crops, stretch distorts and contain shrinks the canvas to the fitted area rather than padding it with bars. If you need a specific region rather than a specific size, the cropper is the right tool, though it takes one file at a time and re-encodes lossy formats at a hardcoded quality 92.
So what should I do with my file right now?
Check the long edge first. Under roughly 1600 px and you need it larger, open the upscaler, run 2x, then push the PNG through the compressor in lossless mode. Over that, or already at the resolution you need, use the resizer and pick a social preset so you don't have to look the dimensions up. If the target is a feed, the four shapes Instagram accepts and the 1080 px ceiling behind them is the list to work from.