How do I upscale an image to 4K for free?
4K is 3840x2160. Here is what a model reconstructs, what a resizer interpolates, the source width you need and the hardware ceiling that decides if it runs.
· Updated
4K means 3840 by 2160 pixels. That's 8,294,400 of them. If your source is a 400 by 269 thumbnail, you're asking software for roughly 8.2 million pixels nobody ever recorded, and a model will happily produce them by predicting what belongs in each gap. A resizer does something plainer. It averages the pixels you already have across a bigger grid, and it adds no information at all.
LeanImg's upscaler runs Real-ESRGAN realesr-general-x4v3 inside your browser tab, on WebGPU when your machine exposes it. The model file downloads once from our own domain and your pixels stay on the device. Most free 4K upscalers work the other way round, uploading your file and promising to delete it in an hour or two. We didn't build an upload path. There's no API route in this codebase that could receive one.
What does 4K actually mean in pixels?
Consumer 4K is UHD at 3840 by 2160, the frame the ITU-R BT.2020 recommendation describes for ultra high definition. Cinema 4K is wider at 4096 by 2160 and you'll only meet it in DCP work. For a wallpaper, a TV background or a YouTube upload, 3840 wide is the number that matters. Divide that by the two buttons our upscaler exposes and you get your minimum source width: 960 pixels for the 4x button and 1920 pixels for 2x. There's no 3x. There's no box where you type 3840 either, so the multiplier is the whole decision.
Does an AI upscaler add detail that wasn't in the file?
It adds detail. Whether that detail is true is a separate question. Real-ESRGAN learned from degraded and restored image pairs, so it has a strong prior for what a brick edge, an eyelash or a fabric weave looks like at higher resolution, and it paints one in where the source only has a smear. Our engine feeds it 256 pixel tiles with a 16 pixel overlap on every side. It keeps the 224 pixel core of each result and throws the overlapping seams away.
We ran a 400x269 PNG of 177.1 KB through both buttons. The 4x pass returned 1600x1076 at 2.7 MB. The 2x pass returned 800x538 at 782.8 KB, and that one is worth understanding: the model only produces 4x output, so each tile is generated at 4x and downscaled afterwards with high quality smoothing. The 2x result still carries the model's reconstruction. A bicubic enlargement of the same file carries none of it.
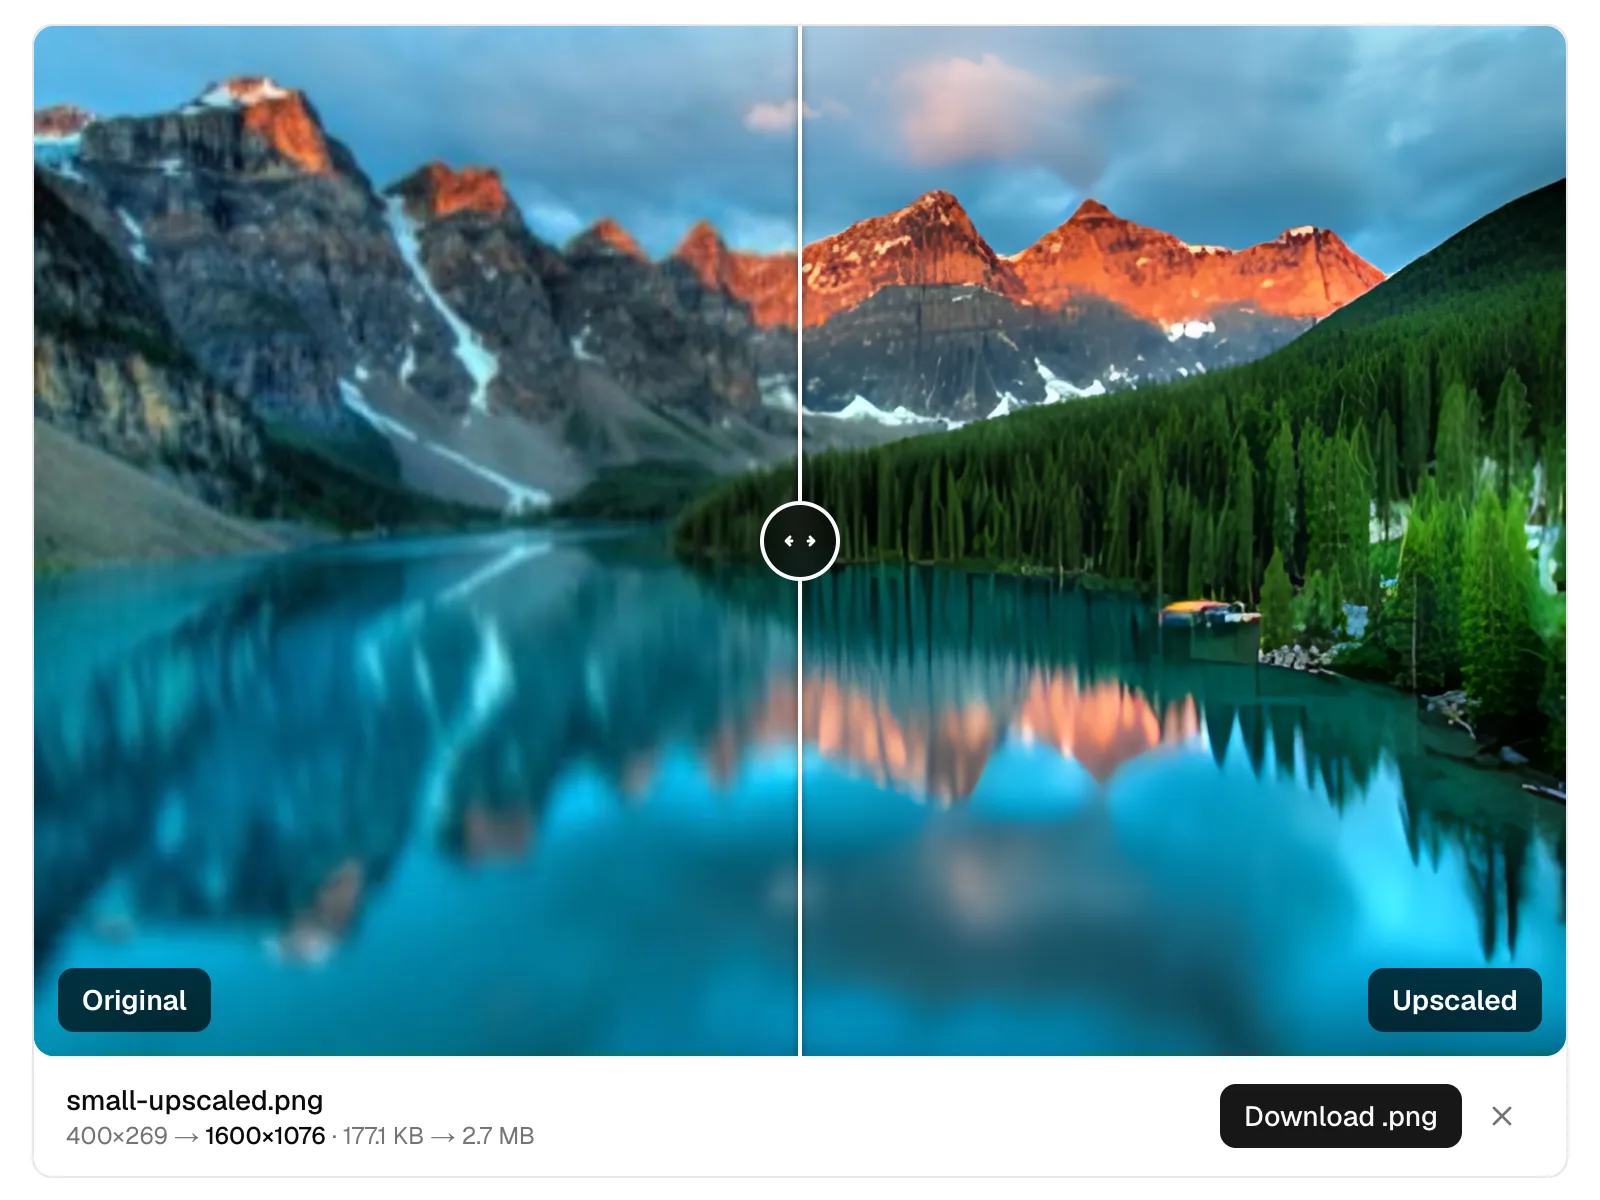
How big does my source need to be to hit 3840 pixels wide?
| Source | 2x output | 4x output | Reaches 3840 wide? |
|---|---|---|---|
| 400x269 (measured run) | 800x538, 782.8 KB | 1600x1076, 2.7 MB | No |
| 960x540 | 1920x1080 | 3840x2160 | Yes, at 4x |
| 1920x1080 | 3840x2160 | 7680x4320 | Yes, at either |
That first row is real. A 400 pixel thumbnail can't reach 4K in a single pass here, and any tool that claims otherwise is either running the model twice or quoting a number it never produced. If your source lands you above 3840 (the 1920x1080 row at 4x gives you 7680), finish in the resizer and pull the width back down to exactly 3840. Downscaling after an upscale is cheap and it looks good.
Why is my upscaled file 2.7 MB when the original was 177 KB?
The upscaler always writes PNG. PNG is lossless, so there's no quality slider to soften the landing, and 4x means sixteen times the pixel count going into a format that stores every one of them exactly. Large outputs get streamed to disk band by band as truecolor PNG, which keeps memory flat while the file itself grows past anything a tab could hold.
Compress it afterwards. Our compressor took a 3840x2160 JPEG of 538.6 KB down to 286.1 KB in smart mode, a 47% cut with no change in dimensions. Pushed to WebP at slider 63, the same file came out at 200.6 KB. AVIF reached 186.9 KB and took about 10 to 11 seconds to encode, while the JPEG and WebP encodes were instant. One thing to know before you compress a keeper: compression strips all metadata, including EXIF, GPS and ICC.
Will my browser actually run a 4K upscale?
This is the ceiling that decides whether you can do any of it. With WebGPU available, the 4x path accepts up to about 32 megapixels of input. Without it we fall back to single threaded WebAssembly and the input cap drops to roughly 1.1 megapixels, which refuses a plain 1920x1080 photo at 2.07 megapixels before it starts. Check caniuse first. Phones sit lower again: the mobile canvas ceiling puts a 4x job at around 1 megapixel of input, which still clears 4K on the output side. There's a hard 32,000 pixel cap per side too, and the tool takes one file at a time up to 50 MB.
How many passes is one upscale?
A job is not one model run. It is a grid of them, because the engine works in 224 pixel cores. Divide your source width by 224 and round up, do the same with the height and multiply: that is how many times the model runs. A 960x540 source, the smallest one that reaches 4K at 4x, is a 5 by 3 grid, so 15 runs. A 1920x1080 source is 9 by 5, so 45. They happen one after another and the engine hands control back to the browser between each one, which is why the tab stays usable and why the progress it reports moves per tile rather than per file. It is also why the CPU fallback isn't slow once. It's slow once per tile.
Why is the picture on the result card not the file I downloaded?
Above a certain output size the result never exists as one image in memory. On the desktop WebGPU path the assembled canvas is capped at 64 million pixels, which at 4x means any source over 4 megapixels and at 2x any source over 16. Past that the engine writes the PNG out band by band and builds a separate preview beside it, capped at 1600 pixels on its longest side. So on a big job the picture you are looking at is a downscale and the download is the real output. Judge the detail after you open the file, not on the card. If the preview step fails you still get the file, because a finished result that took minutes is never discarded over a thumbnail.
What if my file is a HEIC or has transparency?
The upscaler accepts JPG, PNG, WebP and AVIF. HEIC isn't on that list, so an iPhone photo needs a stop at HEIC to PNG first. Transparency won't survive the run either, because the model is RGB only and alpha gets flattened onto white before the first tile is processed. Keep your original if the cutout matters, and run background removal after the upscale so the alpha channel is generated at the final resolution. What that model separates cleanly and what it doesn't is worth reading first.
When is the plain resizer the right tool?
When you're going down, or when the source is already close to target. The resizer hands the work to the browser canvas at high smoothing quality, which averages neighboring pixels and invents nothing. It ships with "Do not enlarge" checked, so a width you type in that's larger than the original gets clamped straight back to the original. Social presets are the one exception, since picking a named platform size is a deliberate choice and it wins over the clamp. PNG output stays lossless there and everything else is re-encoded at quality 90 by default. Going from 3000 wide to 3840, interpolation is fine. Going from 800, it isn't. How the two tools compare row by row goes further into that split.
Does my image leave my computer?
No. This app has no API routes and no server actions, so there's no endpoint that could accept a file even by accident. The only network request during an upscale is the same origin fetch that pulls the model down, and it's cached after the first run. Open DevTools and watch the Network tab while a job runs if you'd rather see it than read it. Our privacy page puts it in fewer words, and the OCR engine that downloads once and then stops fetching is the other tool here built the same way.
Next step: open the upscaler with a source at least 960 pixels wide, pick 4x and wait for the model download to finish. When the PNG lands, send it to the resizer and set the width to 3840, then finish in the compressor so the 4K wallpaper you just made isn't a multi megabyte PNG.